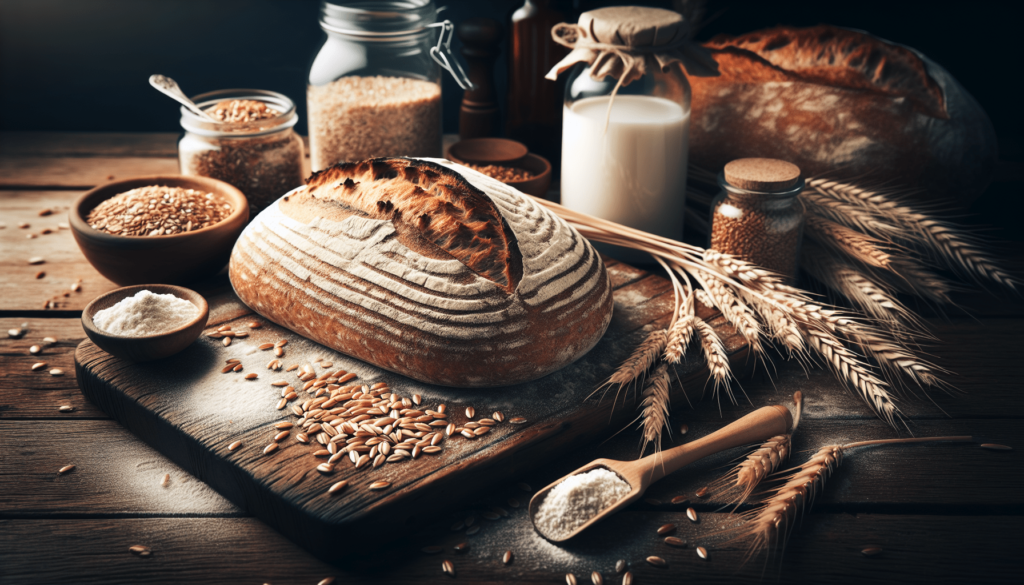
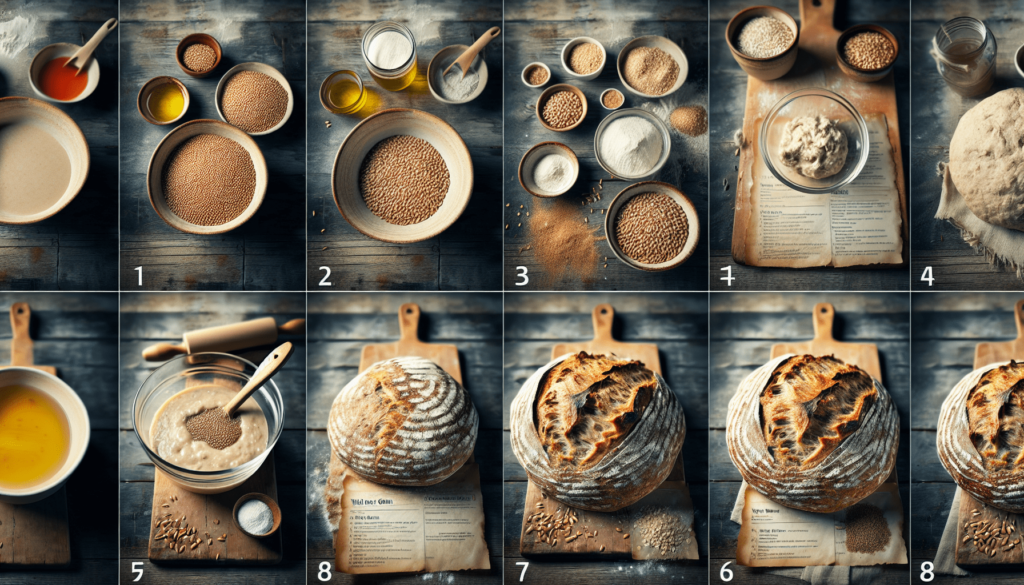
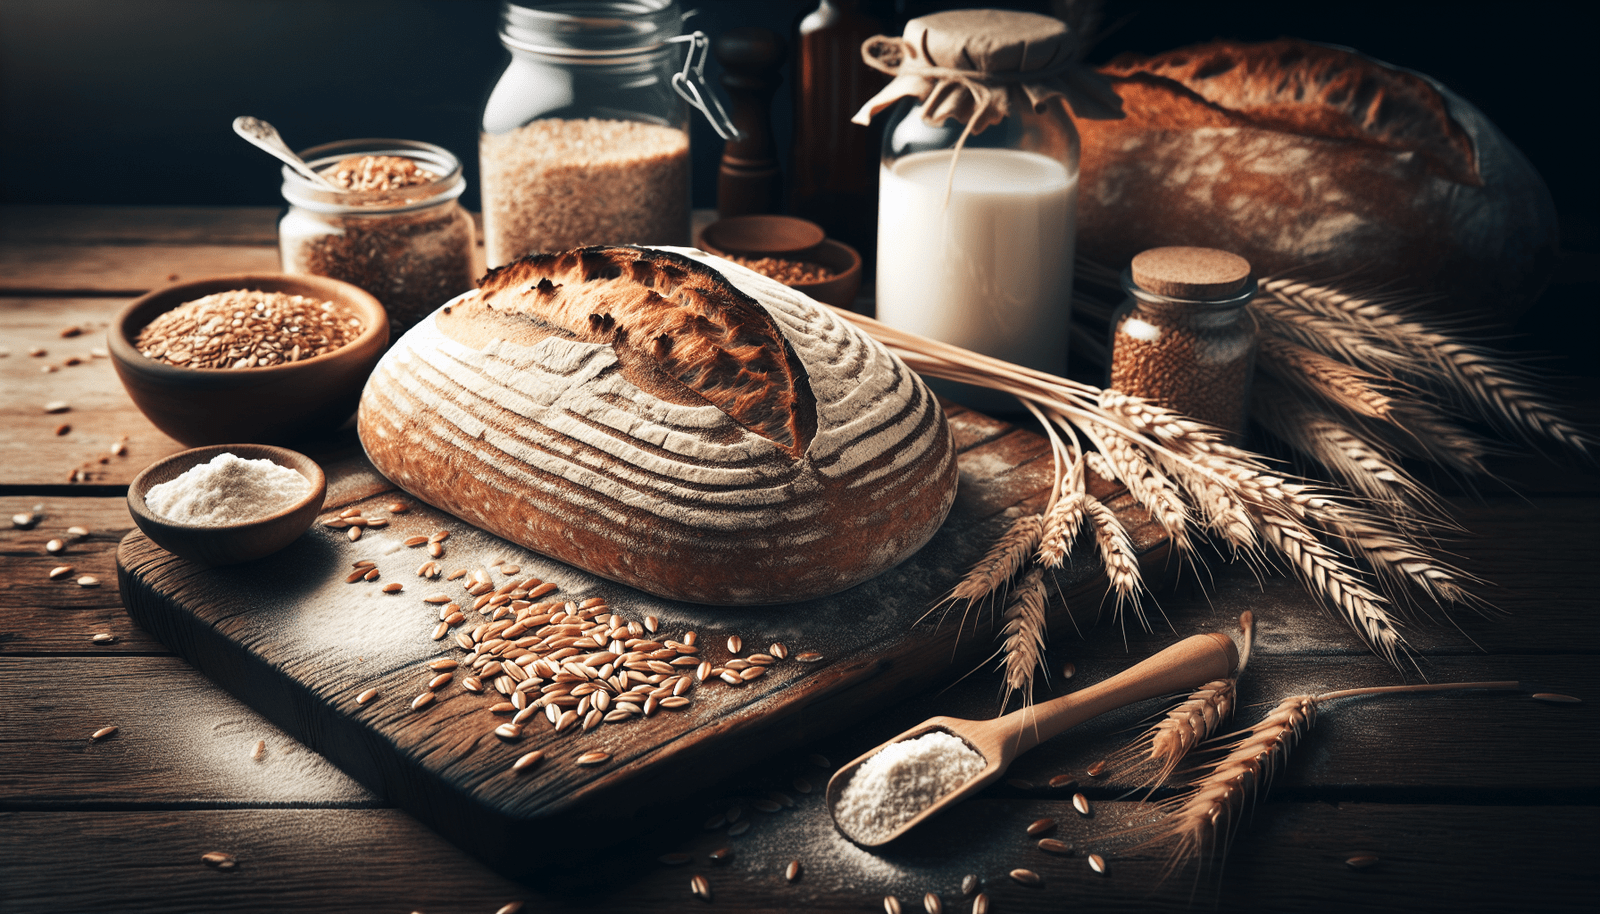
If you’re a bread lover who enjoys the rich flavors and hearty textures of whole grains, then this Whole Grain Sourdough Bread Recipe is just for you. Made with wholesome ingredients and a tangy sourdough starter, this recipe yields a loaf of bread that is packed with nutritional goodness and bursting with deliciousness. Whether you’re a seasoned baker or just starting out, this recipe provides easy-to-follow instructions that will have you baking your very own homemade whole grain sourdough bread in no time. So grab your apron and get ready to create a loaf of bread that is sure to impress both your taste buds and your friends.

Ingredients
To make your own whole grain sourdough bread, you will need the following ingredients:
Whole wheat flour
Whole wheat flour is a key ingredient in this recipe, providing a hearty and wholesome flavor to the bread. It also contributes to the nutritional content of the bread, making it a healthier choice.
Bread flour
Using bread flour in combination with whole wheat flour helps to create a lighter and more tender texture in the bread. Bread flour has a higher protein content, which helps to develop gluten and create a better structure in the dough.
Water
Water is essential for hydrating the flours and activating the sourdough starter. It also helps to form gluten and make the dough easier to work with.
Sourdough starter
The sourdough starter is what gives this bread its characteristic tangy flavor and helps with the rise. You can either make your own starter from scratch or obtain it from a friend or bakery.
Salt
Salt not only enhances the overall flavor of the bread but also helps to regulate fermentation and slow down the activity of the yeast, leading to a more controlled rise.
Making the Sourdough Starter
Before you can start making the bread dough, you’ll need to prepare your sourdough starter. Here’s how to do it:
Mixing flour and water
To create your starter, mix equal parts of whole wheat flour and water in a clean container. Stir until the mixture is smooth and there are no lumps. Cover the container loosely and let it sit at room temperature for 24 hours.
Feeding the starter
After 24 hours, your starter will have started to ferment. Discard half of the starter and feed it with equal parts of fresh flour and water. Mix until smooth, cover, and let it sit for another 24 hours. Repeat this feeding process daily until your starter becomes active and bubbly.
Fermentation process
During the fermentation process, the natural yeasts in the environment and the wild yeasts present in the flour will start to colonize your starter. This fermentation creates carbon dioxide gas, which gives the bread its rise. Your starter should be ready to use when it becomes bubbly, has a pleasant aroma, and doubles in size within a few hours of feeding.
Preparing the Dough
Once your sourdough starter is active and ready to use, it’s time to prepare the dough for your whole grain sourdough bread.
Mixing the flours
In a large mixing bowl, combine the whole wheat flour and bread flour. Whisk them together to ensure even distribution of the flours.
Adding the starter
Measure out the desired amount of sourdough starter and add it to the mixing bowl with the flours. Using a wooden spoon or your hands, mix the starter into the flours until well combined.
Kneading the dough
Transfer the mixture onto a clean, lightly floured surface and knead the dough for about 10 minutes. Kneading helps to develop the gluten in the dough, which gives the bread its structure and prevents it from becoming too dense.
Autolyse process
After kneading, cover the dough with a tea towel or plastic wrap and let it rest for about 30 minutes. This process, known as autolyse, allows the flours to fully hydrate and helps improve the texture and flavor of the bread.
Bulk Fermentation
Once the dough has gone through the autolyse process, it’s time for the bulk fermentation stage. This is where the dough rises and develops its gluten structure even further.
First rise
Place the dough back into the mixing bowl and cover it with a clean tea towel or plastic wrap. Let the dough rise at room temperature for around 3-4 hours or until it has doubled in size.
Stretch and fold technique
During the bulk fermentation stage, it’s important to perform a stretch and fold technique every 30 minutes for the first 2 hours. This helps to strengthen the gluten and distribute the yeast activity more evenly.
Second rise
After the stretch and fold technique, let the dough rest for another 2-3 hours, allowing it to rise and develop more flavor. The dough should increase in volume and become slightly puffy.

Shaping and Final Rise
Now that your dough has completed the bulk fermentation stage, it’s time to shape it and let it go through its final rise before baking.
Dividing the dough
Gently transfer the dough onto a lightly floured surface and divide it into the desired number of loaves or rolls. Be careful not to deflate the dough too much during this process.
Pre-shaping
Take each portion of dough and gently shape it into a round or oval shape, tucking the edges underneath. This pre-shaping helps to create surface tension and promote a better rise during the final proofing.
Bench rest
After pre-shaping, let the dough rest on the bench for about 15-20 minutes. This allows the gluten to relax and makes it easier to shape the dough into its final form.
Final shaping
Once the bench rest is complete, shape the dough into its final shape, such as a batard, boule, or baguette. Use your hands or a bench scraper to shape and tighten the dough further.
Proofing
Transfer the shaped dough onto a floured banneton or a cloth-lined bowl, with the seam side facing up. Cover the dough with a tea towel or plastic wrap and let it proof for another 1-2 hours, or until it has visibly expanded and feels puffy to the touch.
Baking
After the final rise, it’s finally time to bake your whole grain sourdough bread and enjoy the delicious aroma that will fill your kitchen.
Preheating the oven
Preheat your oven to the desired temperature. For most whole grain sourdough bread recipes, a temperature of around 425°F (220°C) is recommended.
Scoring the dough
Just before placing the dough in the oven, use a sharp knife or a razor blade to make a few slashes, also known as scoring, on the surface of the dough. Scoring helps to control the bread’s expansion during baking and adds a decorative touch.
Baking temperature and time
Place the bread in the preheated oven and bake for approximately 30-40 minutes or until the crust turns golden brown and has a hollow sound when tapped on the bottom. The internal temperature of the bread should reach around 200°F (93°C) to ensure it is fully cooked.
Cooling and Storing
Once your whole grain sourdough bread is baked to perfection, it’s essential to follow the proper steps for cooling and storing to maintain its freshness.
Cooling
After removing the bread from the oven, transfer it to a wire rack and let it cool completely before slicing. Cooling allows the bread’s moisture to redistribute and ensures a better texture.
Storing the bread
To keep your whole grain sourdough bread fresh, store it in a bread box or a paper bag at room temperature.
Variations and Additions
While the basic recipe for whole grain sourdough bread is delicious on its own, you can also experiment with different variations and additions to add even more flavor and texture to your bread.
Adding seeds or grains
Consider incorporating various seeds or grains into your dough, such as sesame seeds, sunflower seeds, flaxseeds, or rolled oats. These additions not only add crunch and texture but also provide additional nutritional benefits.
Incorporating other flours
Instead of using solely whole wheat and bread flour, you can experiment with incorporating other flours like rye, spelt, or barley flour into your dough. This will bring different flavors and textures to your bread.
Flavoring options
Play around with different flavorings, such as herbs, spices, or even roasted garlic, to infuse your bread with unique flavors. Get creative and personalize your whole grain sourdough bread recipe to suit your taste preferences.
Troubleshooting
If you encounter any issues or challenges while making whole grain sourdough bread, here are some common troubleshooting tips:
Dense bread
If your bread turns out dense, it could be due to inadequate gluten development or insufficient rising time. Make sure to knead the dough thoroughly and give it enough time to rise during both the bulk fermentation and final rise stages.
Lack of rise
A lack of rise can be caused by various factors, such as an inactive or weak sourdough starter, low room temperature, or too much salt. Check the activity of your starter, ensure a warm environment for fermentation, and consider adjusting the salt content in your recipe.
Sourness level
The sourness level of your bread can vary depending on the fermentation time and temperature. If you prefer a milder flavor, reduce the fermentation time or use a higher proportion of bread flour in your recipe. For a tangier taste, extend the fermentation time and use a higher proportion of whole wheat flour.
Health Benefits
Whole grain sourdough bread offers several health benefits compared to its commercially made counterparts.
Higher nutritional content
Whole wheat flour used in this recipe retains its bran and germ, which are rich in fiber, B vitamins, and minerals. This makes the bread more nutritious and beneficial for overall health.
Gut-friendly properties
The long fermentation process involved in making sourdough bread helps to break down the gluten and phytic acid present in the grains. This makes the bread easier to digest and may be more suitable for individuals with gluten sensitivity or digestive issues.
Reduced gluten sensitivity
The natural fermentation process of sourdough bread may reduce gluten sensitivity in some individuals. The natural enzymes produced during fermentation break down the gluten proteins, making them easier to tolerate for those with mild gluten sensitivities.
In conclusion, making your own whole grain sourdough bread is not only a rewarding and satisfying process but also allows you to enjoy the numerous health benefits it offers. With a little patience and practice, you’ll be able to produce flavorful and nutritious loaves of bread right in your own kitchen. So why not give it a try and enjoy the wonderful taste and texture of homemade whole grain sourdough bread?


