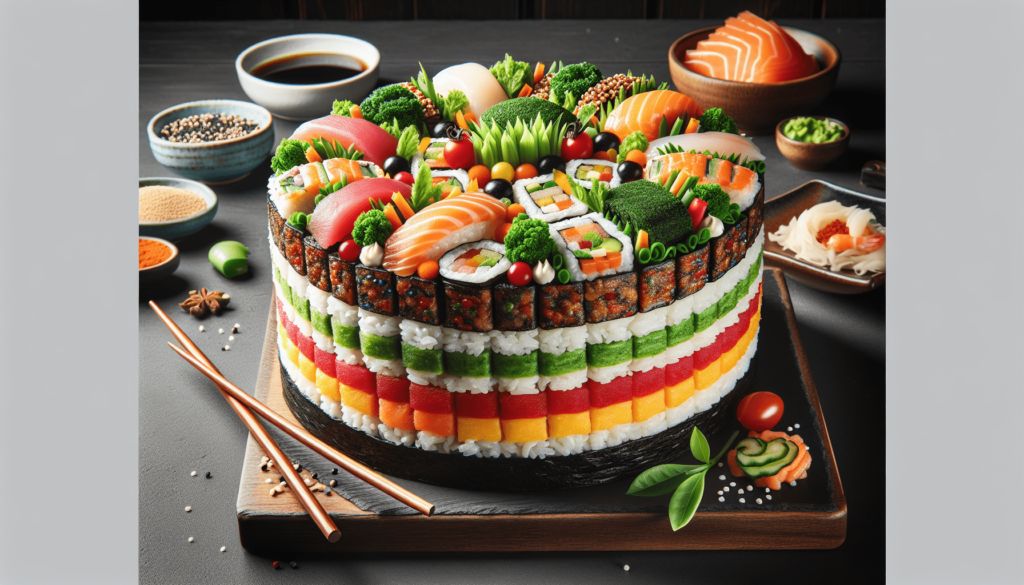
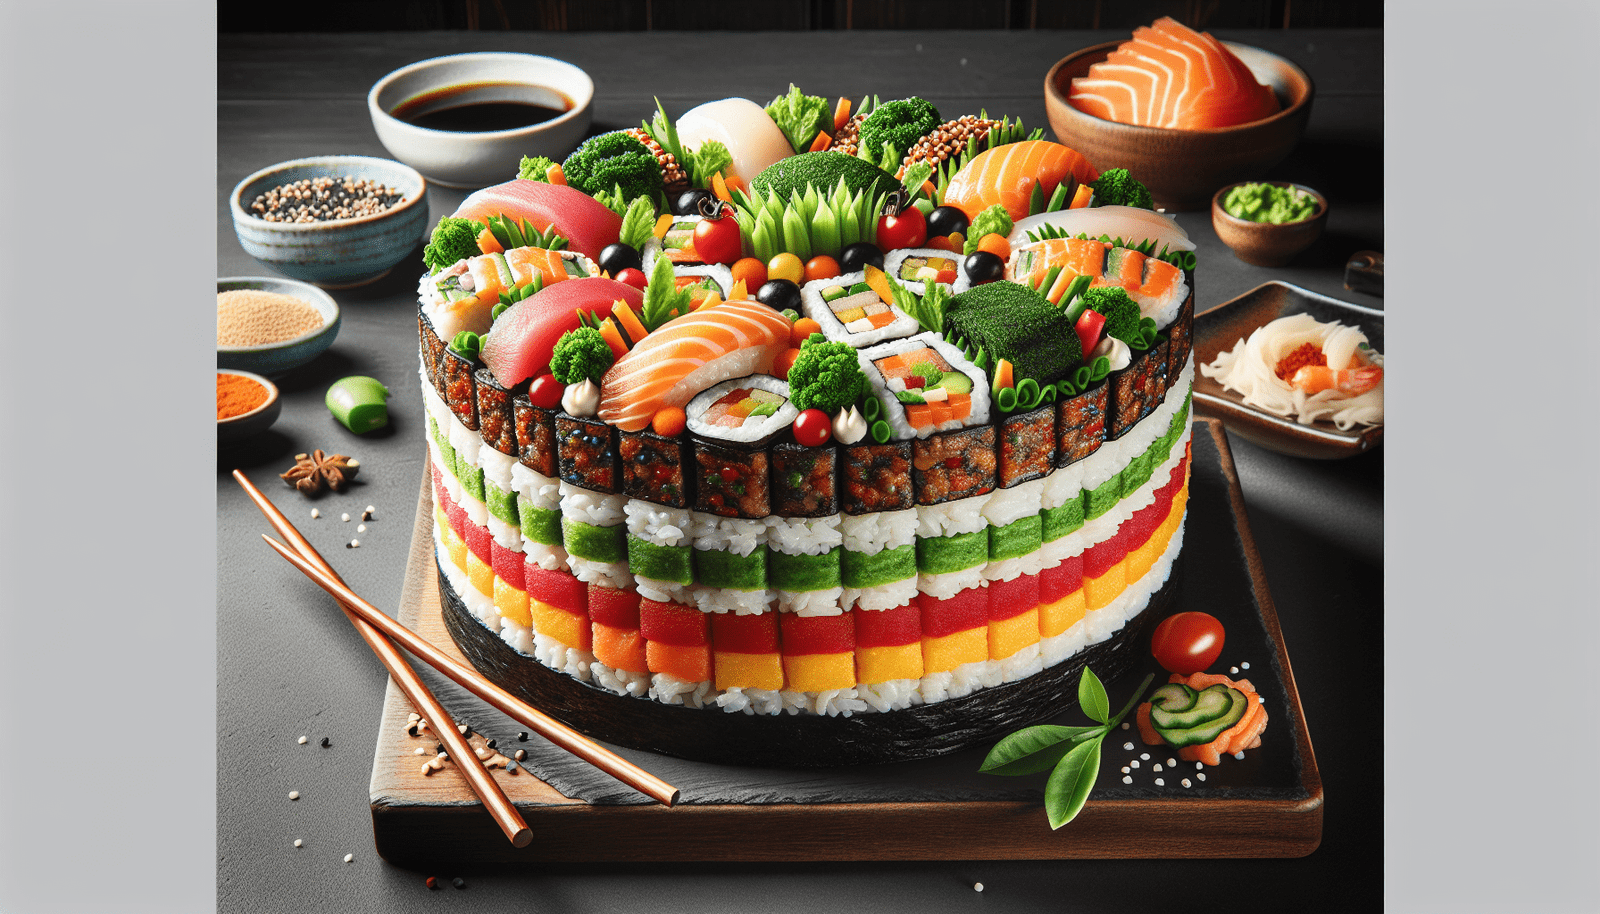
Ever thought about combining two of your favorite dishes into one delightful creation? Look no further than the Sushi Cakes Recipe! This unique culinary masterpiece takes all the flavors and textures of sushi and transforms them into a cake-like form that is sure to wow your taste buds. With a combination of fresh sushi ingredients, delicious rice, and a touch of creativity, these sushi cakes are not only visually stunning but also incredibly flavorful. Get ready to impress your friends and family with this inventive twist on a classic Japanese dish!

Ingredients
To make a delicious sushi cake, you will need the following ingredients:
Sushi rice
The foundation of any sushi dish, sushi rice is short-grain rice seasoned with rice vinegar, sugar, and salt.
Nori sheets
Nori sheets are thin, dried seaweed that add flavor and texture to the sushi cake.
Assorted sushi fillings
Get creative with your sushi fillings! Choose a variety of fresh fish, such as tuna, salmon, or shrimp, as well as vegetables like avocado, cucumber, and carrots.
Sesame seeds
Sesame seeds not only add a touch of crunch but also enhance the visual appeal of the sushi cake.
Soy sauce
Soy sauce is a staple condiment for sushi, providing a salty kick of flavor.
Wasabi
Known for its spiciness, wasabi adds a zesty element to the sushi cake.
Pickled ginger
Pickled ginger serves as a palate cleanser between bites, providing a refreshing and tangy taste.
Preparing the Sushi Rice
A crucial step in creating a perfect sushi cake is preparing the sushi rice. Follow these steps for optimal results:
Cooking the rice
Start by rinsing the sushi rice in cold water until the water runs clear. Then, cook the rice according to the package instructions or using a rice cooker. Once cooked, let the rice cool to room temperature.
Vinegar seasoning
To give the sushi rice its signature tangy flavor, gently mix rice vinegar, sugar, and salt together. Gradually add this mixture to the cooled sushi rice, tossing the rice gently to ensure even distribution of the seasoning.
Preparing the Sushi Fillings
The sushi fillings are the stars of your sushi cake. Here’s what you need to do:
Slicing the fish and vegetables
Carefully slice the fish and vegetables into thin strips. Ensure that they are all around the same size for even layering.
Marinating the fish (optional)
For an extra burst of flavor, you can marinate the fish in a mixture of soy sauce, rice vinegar, and a touch of sugar. Allow the fish to soak in the marinade for at least 15 minutes before using.
Cooking any necessary ingredients
If you plan on using cooked ingredients like shrimp or eggs, be sure to cook them beforehand according to your preference. Let them cool completely before proceeding with the sushi cake assembly.
Assembling the Sushi Cake
Now it’s time to bring everything together and assemble your sushi cake:
Choosing a mold or cake ring
Select a mold or cake ring that will help you achieve the desired shape for your sushi cake. You can find specialized sushi cake molds or make your own using an adjustable cake ring.
Layering the sushi rice
Spread a layer of sushi rice evenly at the bottom of the mold or cake ring. Use a spatula or the back of a spoon to press the rice down gently and ensure a compact base.
Adding the sushi fillings
Now it’s time to let your creativity shine! Layer the sliced fish and vegetables on top of the rice, creating a visually appealing pattern or design. Remember to leave a small border around the edges for easier shaping later.
Pressing and shaping the sushi cake
Once the fillings are in place, add another layer of sushi rice on top, gently pressing down to secure the ingredients. Carefully remove the mold or cake ring, slowly revealing the beautifully shaped sushi cake.
Decorating the Sushi Cake
Elevate the presentation of your sushi cake with these decorative touches:
Cutting out shapes from nori sheets
Using scissors or a knife, cut out shapes from the nori sheets. These could be simple geometric shapes or more intricate designs like flowers or animals.
Arranging the nori shapes on top of the cake
Place the nori shapes on top of the sushi cake, arranging them in an aesthetically pleasing manner. You can create a border around the edges or scatter the shapes throughout the surface.
Sprinkling sesame seeds on top
For an added burst of flavor and texture, sprinkle sesame seeds over the sushi cake. The contrast of the black sesame seeds against the white rice adds visual appeal.
Adding additional garnishes
To further enhance the flavors and presentation, you can add additional garnishes such as microgreens, thin slices of lemon or lime, or even edible flowers. Get creative and tailor the garnishes to your taste preferences.
Serving the Sushi Cake
Now that your sushi cake is ready, it’s time to serve and enjoy!
Plating the sushi cake
Carefully transfer the sushi cake to a serving plate using a flat spatula or your hands. Ensure the cake remains intact during the transfer. Place the sushi cake in the center of the plate for a visually appealing presentation.
Providing soy sauce, wasabi, and pickled ginger as condiments
Serve soy sauce, wasabi, and pickled ginger on the side to allow each person to customize their sushi cake experience. The soy sauce provides a salty element, the wasabi adds heat, and the pickled ginger offers a refreshingly tangy bite.
Variations and Tips
Here are some additional ideas and tips to help you experiment and perfect your sushi cake:
Experimenting with different sushi fillings
Don’t be afraid to try different combinations of fillings to suit your taste preferences. Consider including unique ingredients like marinated tofu, mango, or crispy tempura for added texture and flavor.
Using colored sushi rice for visual appeal
Add a pop of color to your sushi cake by using colored sushi rice. You can find variations such as purple rice (made with black rice) or pink rice (made with beet juice) for a visually stunning presentation.
Using a sushi mat to shape the cake
If you prefer a more cylindrical shape, you can use a sushi mat to create a traditional rolled sushi cake. Simply wrap the sushi mat around the filling and rice, applying gentle pressure to shape the cake.
Chilling the sushi cake before serving
For a firmer and more cohesive sushi cake, refrigerate it for at least an hour before serving. This chilling time allows the flavors to meld and ensures the cake holds its shape when sliced.
Storage and Leftovers
If there happen to be any leftovers (although it’s not guaranteed), here’s what you can do:
Storing leftovers in the refrigerator
Place any remaining sushi cake in an airtight container and store it in the refrigerator. Consume the leftovers within 24 hours to ensure freshness and optimal taste.
Using leftover sushi cake for sushi rolls or bowls
If you’re feeling adventurous, you can repurpose the leftover sushi cake by using it as filling for sushi rolls or as a topping for sushi bowls. Break the sushi cake into smaller pieces, and get creative with your sushi creations.
Now that you’re armed with the knowledge of how to make a delightful sushi cake, it’s time for you to embark on your culinary adventure. Gather your ingredients, follow the steps, and impress your friends and family with your homemade sushi cake creation. Enjoy!

