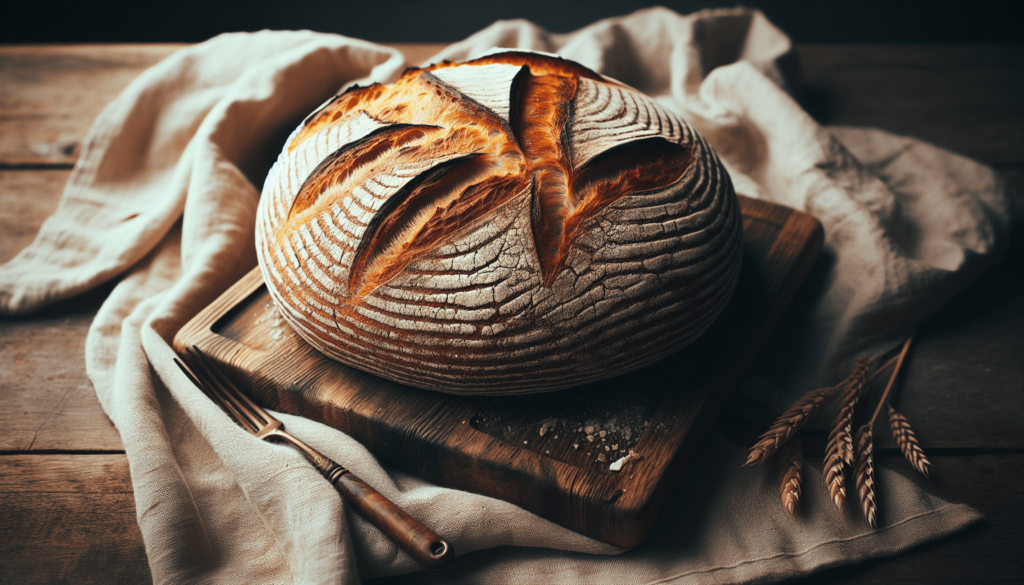
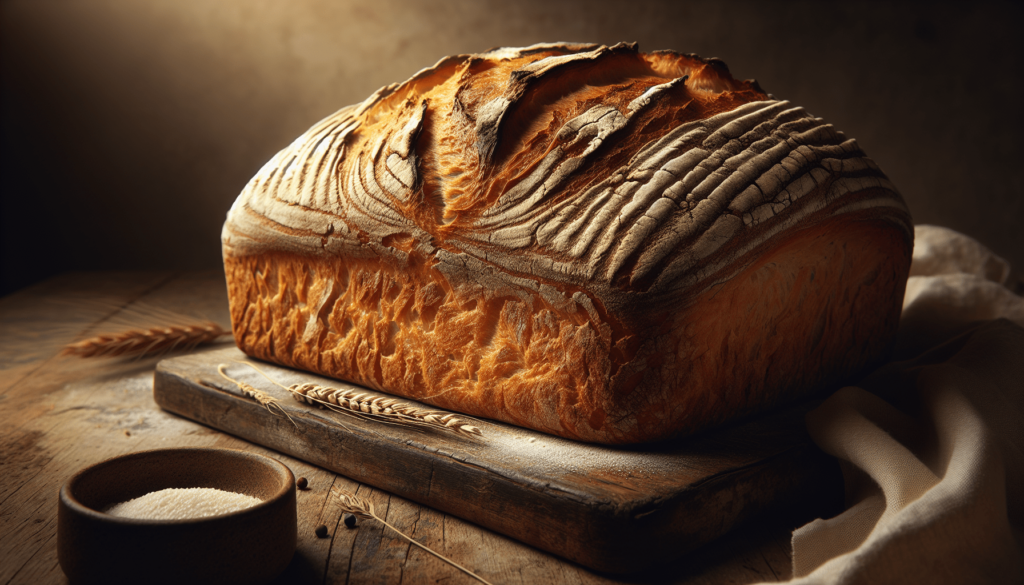
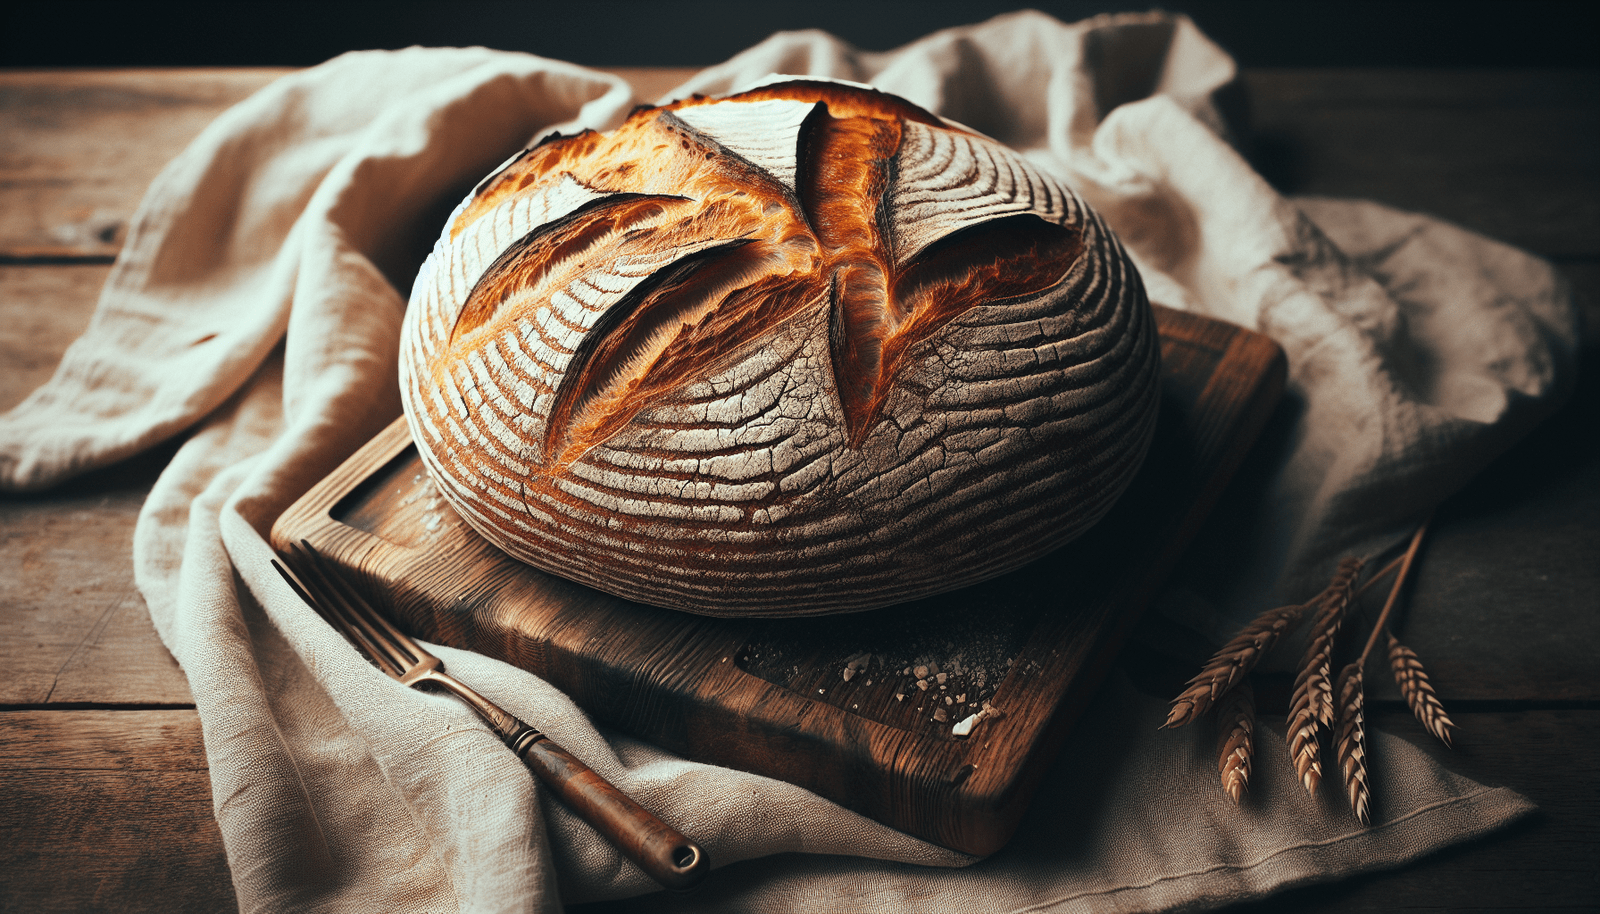
Imagine being stranded in the wilderness with no access to food. In such desperate times, knowing how to make survival bread could be a game-changer. This article is here to guide you through a simple and effective survival bread recipe that requires minimal ingredients and equipment. So, whether you are an adventurous soul who loves exploring the great outdoors or simply want to be prepared for any unforeseen circumstances, this survival bread recipe is a must-know for every aspiring wilderness survivor. Get ready to learn the secrets of baking bread in the most challenging of situations!

Survival Bread Recipe
Are you looking for a delicious and easy-to-make bread recipe for your survival needs? Look no further! This survival bread recipe is packed with essential ingredients and can be made using various cooking methods. Whether you’re camping in the wilderness or preparing for an emergency, this bread will provide you with the nourishment and energy you need to thrive. So, let’s dive in and explore the ingredients, step-by-step instructions, alternative cooking methods, nutritional value, and other useful tips and tricks for making and storing survival bread.
Ingredients
To begin, let’s gather all the necessary ingredients to make your survival bread. Here’s what you’ll need:
Flour
Start your bread-making journey by choosing the right type of flour. While all-purpose flour can be an excellent choice, you can also experiment with whole wheat or other alternative flours based on your preferences and dietary needs.
Salt
Salt not only enhances the taste of your bread but also provides essential minerals for your body. Consider using sea salt or kosher salt, which are healthier options compared to regular table salt.
Baking Powder
Baking powder is an essential ingredient in this recipe as it helps the bread rise and become fluffy. Ensure your baking powder is fresh and has not expired for the best results.
Sugar
Sugar adds a touch of sweetness to your survival bread. However, if you’re avoiding refined sugar, feel free to use natural sweeteners like honey or maple syrup as substitutes.
Water
Water is an indispensable component of any bread recipe. Use filtered or purified water to ensure the purity and quality of your bread.
Shortening or Oil
Shortening or oil keeps your bread moist and adds richness to the texture. Choose a vegetable-based shortening or oil, such as canola oil or coconut oil, for a healthier option.
Step-by-step Instructions
Now that we have all our ingredients ready, let’s go through the step-by-step instructions to make your survival bread.
Combine Dry Ingredients
In a large mixing bowl, combine the flour, salt, baking powder, and sugar. Mix them thoroughly to ensure the even distribution of ingredients throughout the dough.
Add Water
Slowly pour the water into the mixing bowl while continuously mixing the dry ingredients. Keep adding water until the dough reaches a workable consistency. The dough should be slightly sticky but not excessively wet.
Mix Thoroughly
Using your hands or a spoon, mix the dough thoroughly to ensure all the ingredients are well incorporated. Knead the dough for a few minutes until it becomes smooth and elastic.
Knead the Dough
Transfer the dough to a clean, floured surface and begin kneading it. Use your hands to stretch and fold the dough, applying gentle pressure. Kneading helps develop gluten and improves the texture of your bread.
Shape the Dough
Once the dough is adequately kneaded, shape it into a loaf or any desired shape. You can also divide the dough into individual portions for convenience.
Bake in a Dutch Oven
Preheat your Dutch oven over a fire or stove. Place the shaped dough into the preheated Dutch oven. Cover it with the lid and let it bake for approximately 40-50 minutes or until the bread turns golden brown and sounds hollow when tapped.
Choosing the Right Ingredients
When it comes to making survival bread, it’s crucial to choose the right ingredients based on your preferences, dietary needs, and availability. Here are some considerations for each ingredient:
Flour Options
While all-purpose flour is a versatile choice, consider using whole wheat flour for added nutrition. Experiment with other alternative flours like rye, spelt, or even gluten-free flour if you have specific dietary restrictions.
Salt Considerations
Opt for healthier alternatives like sea salt or kosher salt instead of regular table salt. These options not only enhance the flavor but also provide additional minerals for your body.
Baking Powder Alternatives
If you don’t have baking powder on hand, you can replace it with a combination of baking soda and cream of tartar. Simply use 1/4 teaspoon of baking soda and 1/2 teaspoon of cream of tartar for each teaspoon of baking powder.
Sugar Substitutions
If you prefer to avoid refined sugar, you can substitute it with natural sweeteners like honey, maple syrup, or even mashed bananas. These alternatives can add a unique flavor profile to your bread.
Water Sources
When it comes to water, it’s important to use clean and safe sources. If you’re uncertain about the quality of your tap water, consider using filtered or purified water for the best results.
Shortening or Oil Choices
When choosing shortening or oil, go for vegetable-based options like canola oil or coconut oil. These choices are healthier compared to saturated fats or hydrogenated oils.

Long-Term Storage
Now that you have made your delicious survival bread, you might be wondering about long-term storage options. Here are some methods to keep your bread fresh and edible for an extended period:
Vacuum Sealing
Investing in a vacuum sealer can be a great option to extend the shelf life of your bread. Vacuum-sealed packages help eliminate oxygen, preventing spoilage and maintaining the freshness of your bread.
Mylar Bags
Another effective method is storing your bread in Mylar bags. Mylar bags create a barrier against moisture and pests, ensuring your bread remains in excellent condition for a long time. Remember to use an oxygen absorber to enhance the longevity of your bread.
Oxygen Absorbers
Using oxygen absorbers in your storage containers can help prolong the shelf life of your survival bread. These small packets absorb oxygen, preventing the growth of molds and bacteria.
Freezing the Bread
If you have access to electricity or a reliable power source, freezing your bread is a simple and effective way to store it for a more extended period. Slice your bread before freezing to make individual portions easier to thaw when needed.
Using Food-Grade Buckets
For larger quantities of bread, consider storing them in food-grade buckets. Ensure the buckets are tightly sealed to protect the bread from moisture, pests, and other contaminants.
Alternative Cooking Methods
While baking your survival bread in a Dutch oven is a popular method, there are other cooking methods you can explore, especially if you’re outdoors or facing limited resources:
Cooking Over an Open Fire
If you find yourself in a camping or survival situation, cooking your bread over an open fire can be an exciting option. Wrap your dough in aluminum foil or place it on a stick, rotating it over the flames until it’s golden brown and cooked through.
Using a Solar Oven
Harness the power of the sun by using a solar oven to bake your bread. These ovens use solar energy to reach high temperatures, allowing you to bake your bread without relying on traditional fuel sources.
Making a DIY Oven
In a survival situation, you can create a DIY oven using basic materials like bricks or rocks. Construct a small enclosure, place your bread inside, and heat it using a heat source such as a campfire or portable stove.
Using a Camping Stove
If you have access to a camping stove or a portable gas stove, you can utilize it to bake your survival bread. Simply adjust the temperature and cooking time accordingly to achieve the desired result.
Adding Variations
While the basic survival bread recipe is delicious on its own, you can add various ingredients to create exciting and flavorful variations. Here are some ideas to enhance your bread:
Adding Dried Fruits or Nuts
To add a touch of natural sweetness and texture, you can incorporate dried fruits like raisins, cranberries, or chopped dates into your bread. Similarly, adding chopped nuts like almonds, walnuts, or pecans can provide a delightful crunch.
Incorporating Grains or Seeds
Boost the nutritional profile of your survival bread by incorporating different grains or seeds. Quinoa, chia seeds, flax seeds, or cracked wheat can add extra fiber and nutrients to your bread.
Creating a Savory Bread
If you prefer a savory option, experiment with adding herbs and spices to your dough. Rosemary, thyme, garlic powder, or onion powder can infuse your bread with a delicious savory aroma.
Experimenting with Spices
Spices like cinnamon, nutmeg, or cardamom can transform your survival bread into a delectable treat. Sprinkle these spices into the dough or on top before baking for a fragrant and flavorful experience.
Nutritional Value
Survival bread, with its essential ingredients, provides a good combination of nutrients to sustain your energy levels. Here’s a breakdown of the nutritional value you can expect from this bread:
Calories and Energy
Survival bread is a calorie-dense food that provides a significant source of energy, crucial for survival situations. The exact calorie content may vary based on the ingredients used and the portion size.
Protein Content
While survival bread may not be exceptionally high in protein, the addition of nuts and seeds can contribute to its protein content. Protein plays a vital role in muscle repair and maintenance.
Carbohydrates and Fats
Carbohydrates are the primary source of energy in survival bread. The combination of flour and sugar provides a significant amount of carbohydrates, while fats from shortening or oil add flavor and calories.
Fiber and Micronutrients
Depending on the type of flour and ingredients used, survival bread can provide a good amount of dietary fiber. Fiber aids digestion and promotes a healthy gut. Additionally, there may be micronutrients present, depending on the choice of ingredients.
Sourcing Ingredients in the Wild
In a survival situation, you might not have access to store-bought ingredients. However, nature provides various alternatives for foraging and sourcing ingredients. Here are some ideas for wild-sourcing:
Foraging for Wild Grains
If you find yourself in an environment where wild grains grow, such as wild rice or amaranth, you can harvest and process these grains to make your survival bread. However, ensure you correctly identify the grains and follow proper preparation methods.
Harvesting and Grinding Seeds
Wild seeds like dandelion seeds or wild grasses can be harvested and ground into flour. Though the process may be more time-consuming, it allows you to create bread using local resources.
Extracting Salt from Natural Sources
If you’re in a coastal or saline region, you can extract salt from natural sources like saltwater pools or salt pans. By evaporating the water, you can collect salt crystals to use in your bread.
Finding Sugar Substitutes in Nature
Nature offers various options for natural sweeteners. Look for sources like honey from beehives, maple syrup from maple trees, or even natural sugars present in fruits or tree sap.
Recipes for Special Dietary Needs
Survival bread can be adapted to meet specific dietary needs, ensuring everyone can enjoy this nourishing food. Here are some recipe variations:
Gluten-Free Survival Bread
For those with gluten intolerance or celiac disease, use gluten-free flour alternatives like rice flour, almond flour, or a gluten-free flour blend. Ensure all ingredients used are gluten-free.
Vegan or Plant-Based Options
To make your survival bread vegan or plant-based, replace the shortening or oil with plant-based alternatives like coconut oil or vegan margarine. Ensure other ingredients used align with your dietary preferences.
Low-Sodium Variations
To reduce the sodium content in your bread, consider reducing or omitting the salt altogether. Experiment with herbs and spices to enhance the flavor without relying on salt.
Paleo or Grain-Free Adaptations
For those following a paleo or grain-free diet, replace the traditional flour with nut flours like almond flour or coconut flour. These alternatives offer a unique texture and taste.
Tips and Troubleshooting
To ensure the best results and avoid common baking mistakes, consider the following tips and troubleshooting techniques:
Properly Storing Yeast
If you’re using yeast in your bread recipe, make sure to store it in a cool, dark place or in the refrigerator to keep it fresh and active. Always use fresh yeast for best results.
Maintaining Proper Hydration of the Dough
While working with the dough, monitor its hydration level. If the dough feels too dry, gradually add more water. Conversely, if it feels too sticky, add a little more flour to achieve the desired consistency.
Adjusting Cooking Time and Temperature
Every cooking method and equipment can have variations in temperature and cooking time. Keep an eye on your bread while it bakes and make adjustments accordingly. If the bread is browning too quickly, reduce the temperature or cover it with foil.
Avoiding Common Baking Mistakes
Some common mistakes to avoid when baking survival bread include using expired baking powder or yeast, not thoroughly combining the dry ingredients, not kneading the dough adequately, and not preheating the Dutch oven or oven.
Now that you’re equipped with this comprehensive survival bread recipe and all the tips and tricks, you can confidently explore the world of homemade bread-making in any situation. Enjoy the process of creating delicious and nourishing bread while ensuring your survival needs are met. Stay prepared, stay nourished, and happy baking!


