If you’re a fan of both sourdough bread and garlic, then this sourdough garlic bread recipe is a must-try for you! Bursting with flavor and a delightful tanginess from the sourdough, this recipe takes classic garlic bread to a whole new level. The crusty exterior, infused with the rich aroma of garlic, gives way to a soft and chewy interior that will leave you craving for more. Whether you’re serving it as a side dish or as a tasty snack, this sourdough garlic bread is sure to impress your taste buds and anyone lucky enough to enjoy it with you. Get ready to indulge in the perfect combination of tangy and garlicky goodness!
Ingredients
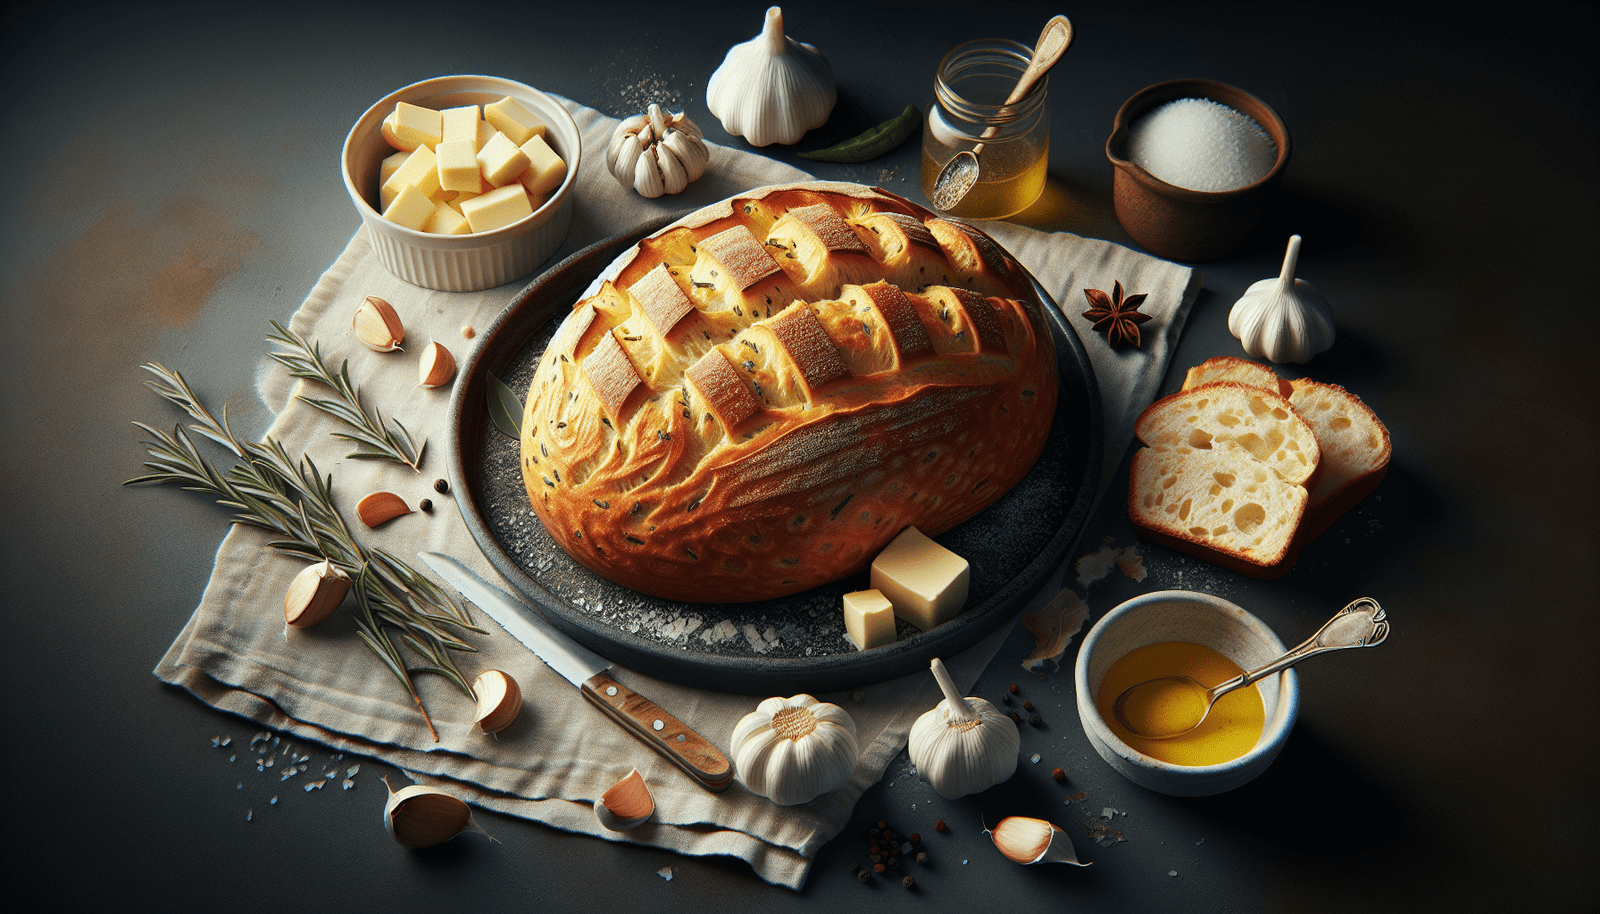
To make a delicious sourdough garlic bread, you will need the following ingredients:
- 1 loaf of sourdough bread
- 4 cloves of garlic
- 1/2 cup unsalted butter
- 1/4 cup chopped fresh parsley
- 1/2 teaspoon salt
- 1/4 teaspoon black pepper
Preparation
- Preheat your oven to 350°F (175°C) to ensure it’s hot and ready for baking the bread.
- Start by slicing the sourdough bread into thick slices, but make sure not to cut all the way through. Keep the slices attached at the bottom to create a pull-apart effect.
- Finely chop the cloves of garlic to maximize their flavor in the bread.
- In a small saucepan, melt the unsalted butter over low heat.
- Add the chopped garlic to the melted butter and cook for about 2 minutes, stirring constantly. This will help infuse the butter with the garlic’s aromatic flavors.
- Remove the saucepan from heat and stir in the chopped fresh parsley, salt, and black pepper. These additional ingredients will enhance the taste of the garlic butter mixture.
- Using a brush, generously coat each slice of bread with the garlic butter mixture, making sure to get in between the slices. The butter mixture will add moisture and flavor to every bite.
- Wrap the loaf in aluminum foil, leaving the top open. This will help the bread retain its moisture while baking.
- Place the wrapped bread in the preheated oven and bake for 15 minutes. This initial baking will allow the bread to soak up the garlic butter and start developing a crispy crust.
- After 15 minutes, remove the aluminum foil and continue baking for an additional 5 minutes, or until the bread is golden and crispy. This final step will give the bread a beautiful golden color and a satisfying crunch.
- Once the bread is done baking, it’s time to serve and enjoy!

Tips
Here are some useful tips to enhance your sourdough garlic bread experience:
- For a stronger garlic flavor, feel free to add more cloves of garlic to the butter mixture. Adjust the amount to your preference and taste.
- If you prefer a softer garlic bread, you can skip the second baking step and serve it after the initial 15 minutes of baking. This will result in a bread that is crispy on the outside, but soft and tender on the inside.
- Don’t limit yourself to just parsley! Experiment with different herbs like rosemary or thyme for added flavor. These herbs will bring their unique characteristics to the garlic bread and create exciting taste combinations.
- This recipe can be easily doubled or halved to accommodate the number of servings needed. Whether you’re serving a small gathering or a large crowd, you can adjust the ingredients accordingly.
- If you’re a fan of cheesy garlic bread, consider adding grated Parmesan or shredded mozzarella on top of the garlic butter before baking. The melted cheese will create a gooey and irresistible topping.
Variations
Take your sourdough garlic bread to the next level with these creative variations:
- Sourdough Cheese Garlic Bread: Elevate the flavors by placing a slice of your favorite cheese, such as cheddar or provolone, between each slice of bread before brushing it with the garlic butter. The melted cheese will add an extra layer of richness and indulgence to the bread.
- Sourdough Herb Garlic Bread: Create a herb-infused garlic bread by adding a mixture of chopped fresh herbs like rosemary, thyme, and oregano to the garlic butter. These herbs will impart their fragrant aromas and earthy notes to the bread, taking it to new heights of deliciousness.
- Sourdough Vegan Garlic Bread: Don’t let dietary restrictions stop you from enjoying this flavorful bread. Simply substitute the butter with olive oil or a vegan margarine spread to make a delicious vegan version of garlic bread.
- Sourdough Tomato Garlic Bread: Add a burst of freshness to your garlic bread by thinly slicing ripe tomatoes and placing them between each slice of bread before brushing it with the garlic butter. The juicy tomatoes will complement the garlic and herbs beautifully.
- Sourdough Mushroom Garlic Bread: Elevate the flavors even further by sautéing sliced mushrooms in olive oil until tender, then placing them between each slice of bread before brushing it with the garlic butter. The sautéed mushrooms will add a rich and savory element to the bread.

Serving Ideas
Now that you have a mouthwatering sourdough garlic bread, here are some serving ideas to complete your meal or snack:
- With Tomato Soup: Pair the sourdough garlic bread with a comforting bowl of tomato soup for a satisfying and cozy meal. Dip the bread into the soup for a delightful combination of flavors and textures.
- As an Appetizer: Serve the bread as an appetizer alongside a salad or antipasto platter. The garlic-infused slices can be a delightful way to kick off a meal or a gathering.
- With Grilled Meats or Roasted Vegetables: Enjoy the garlic bread as a side dish with grilled meats or roasted vegetables. The combination of flavors will elevate your main course and leave you craving for more.
- As a Snack or Party Appetizer: Cut the bread into bite-sized pieces and serve it as a snack or party appetizer. This portable and flavorful treat will be a crowd-pleaser at any gathering or get-together.
Storing and Reheating
If you happen to have any leftovers (which is rare!), here’s how you can store and reheat the sourdough garlic bread:
- Storage: Store any leftover sourdough garlic bread in an airtight container at room temperature for up to 2 days. Make sure the container is sealed tightly to maintain the bread’s crispy texture.
- Reheating in the Oven: To reheat the bread to its fresh-out-of-the-oven glory, preheat your oven to 350°F (175°C). Wrap the bread in aluminum foil to prevent it from drying out, and bake for 10-15 minutes, or until heated through. This will help restore the bread’s crispy exterior and warm, soft interior.
- Quick Reheating in the Microwave: If you’re in a hurry, you can microwave individual slices of the garlic bread for about 20-30 seconds, or until warm. Although this method won’t give you the same level of crispiness, it’s a quick and convenient way to enjoy the bread.
Nutritional Information
While the exact nutritional values may vary depending on the specific ingredients and quantities used, here’s a general breakdown per serving (1 slice) of sourdough garlic bread:
- Calories: 200
- Fat: 10g
- Sodium: 350mg
- Carbohydrates: 24g
- Fiber: 1g
- Protein: 4g
Conclusion
Congratulations! You now have all the information you need to create a delicious and flavorful sourdough garlic bread. The combination of tangy sourdough bread, aromatic garlic, and herb butter is a winning one that will surely impress your taste buds. Whether you serve it as an appetizer, side dish, or snack, this recipe is guaranteed to be a hit.
Feel free to explore different variations and serving ideas to make the bread your own. Add your favorite cheese, experiment with herbs, or even incorporate other ingredients like tomatoes or mushrooms for exciting flavor combinations.
Enjoy every bite of this homemade sourdough garlic bread, savoring the rich flavors and crispy texture. It’s the perfect addition to any meal or gathering, making every occasion a little more special with its delightful taste. Get ready to wow your friends and family with this simple yet incredibly delicious recipe that will keep them coming back for more!