Are you a fan of trying out new recipes? If you’re looking to expand your culinary skills, why not give the Norwegian Bread Recipe a try? This delightful recipe promises to transport you to the cozy cafes of Norway, where the aroma of freshly baked bread fills the air. With its simple ingredients and easy-to-follow steps, you’ll be able to recreate this traditional Norwegian bread in the comfort of your own kitchen. Get ready to impress your family and friends with this mouthwatering treat that will have everyone asking for seconds. Let’s get baking!

Ingredients
To make traditional Norwegian bread, you will need the following ingredients:
Flour
Using high-quality flour is crucial for a successful loaf of Norwegian bread. Opt for all-purpose flour or bread flour for the best texture and taste.
Yeast
Yeast is the key ingredient that helps the dough rise and gives the bread its light and fluffy texture. Active dry yeast or instant yeast can be used.
Salt
Salt not only enhances the flavor of the bread but also helps control the fermentation process when proofing the dough.
Sugar
A small amount of sugar is used to activate the yeast and provide a subtle hint of sweetness to the bread.
Butter
Butter adds richness and moisture to the Norwegian bread. Make sure to use unsalted butter to have better control over the overall saltiness of the bread.
Milk
Milk is added to the dough to create a softer and more tender texture. It adds a subtle creaminess to the loaf.
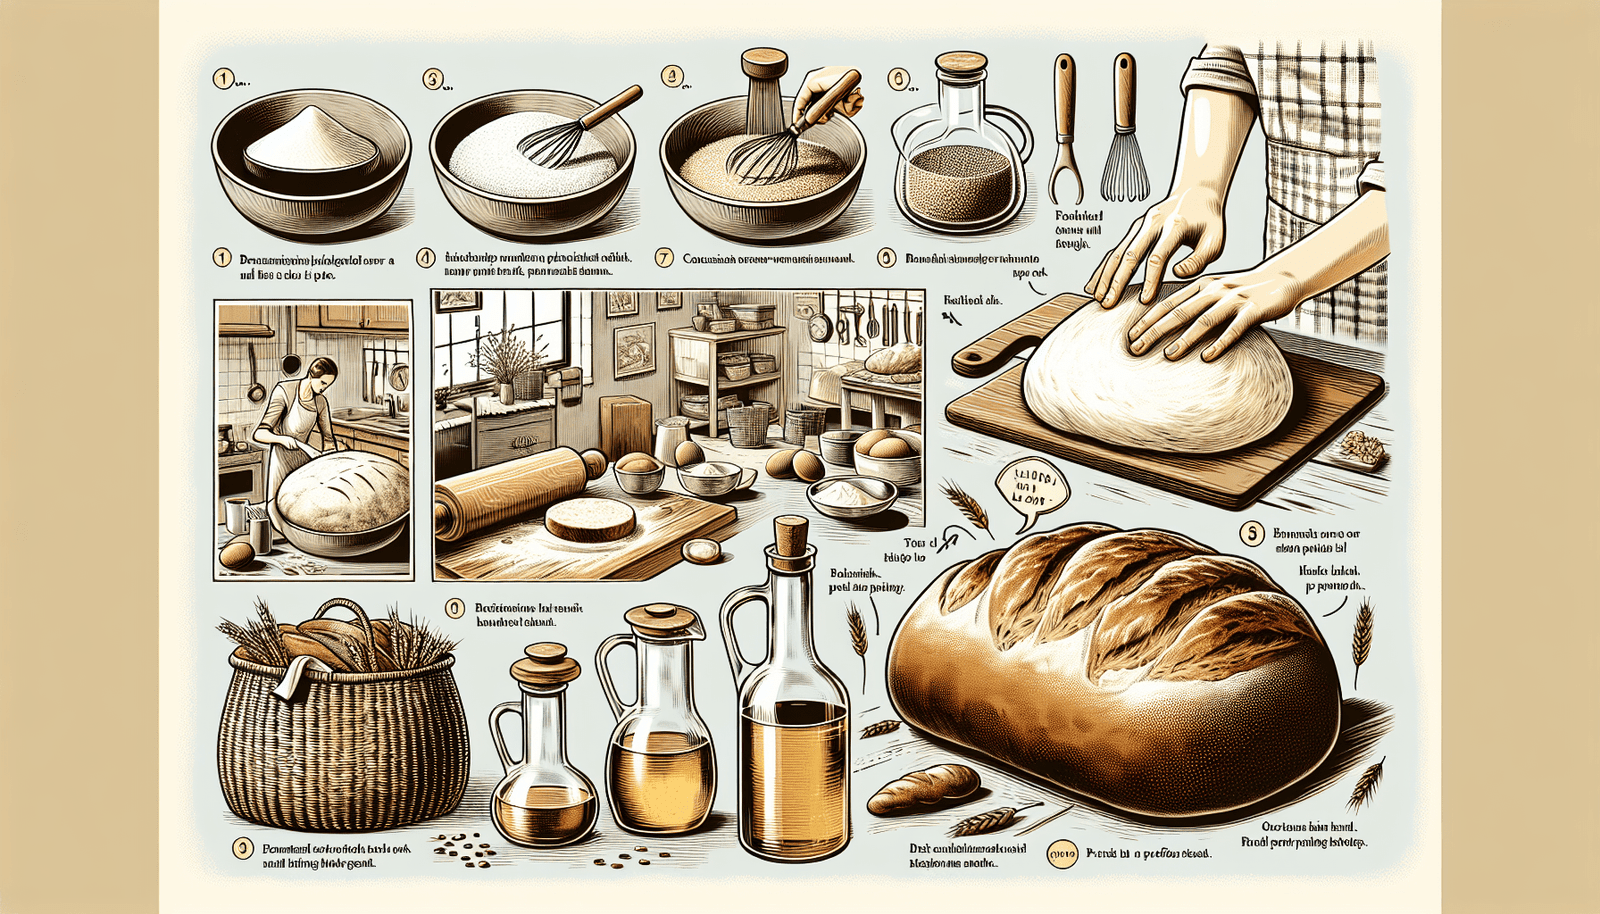
Preparation
To bake your own delicious Norwegian bread, follow these step-by-step instructions:
Mixing the ingredients
In a large mixing bowl, combine the flour, yeast, salt, and sugar. Mix them together until well-blended.
Kneading the dough
Next, add the butter and milk to the mixing bowl. Use your hands or a stand mixer with a dough hook to knead the dough until it becomes elastic and smooth.
First proofing
Cover the bowl with a clean kitchen towel and set it aside in a warm spot. Allow the dough to rise until it has doubled in size. This typically takes around 1 to 2 hours.
Shaping the loaf
Once the dough has proofed, transfer it onto a lightly floured surface. Divide the dough into equal portions and shape each portion into a loaf.
Second proofing
Place the shaped loaves onto a baking sheet lined with parchment paper. Cover them again and let them proof for another 30 minutes to an hour. This second proofing allows the dough to further rise and develop better flavor.
Baking the bread
Preheat your oven to 375°F (190°C). Once the oven is ready, place the bread loaves inside and bake for about 25-30 minutes or until golden brown. Remove from the oven and let them cool before slicing.
Variations
Norwegian bread can be customized with various flavors and additions to suit your preferences. Here are a few popular variations:
Cinnamon bread
Add a generous amount of cinnamon to the dough before kneading. As the bread bakes, the warm aroma of cinnamon will fill your kitchen.
Raisin bread
Mix a handful of raisins into the dough before the first proofing. The juicy raisins will add bursts of sweetness throughout the bread.
Seed-filled bread
Sprinkle a combination of your favorite seeds, such as sesame, flaxseed, or sunflower seeds, onto the dough before shaping. This adds a delightful crunch and nutty flavor to the bread.
Tips and Tricks
Achieving the perfect Norwegian bread requires attention to detail. Here are some tips and tricks to help you along the way:
Choosing the right flour
Opt for a high-quality all-purpose flour or bread flour to ensure the best possible texture and taste. Norwegian bread should have a tender crumb with a slight chewiness.
Proofing at the right temperature
Make sure to proof your dough in a warm spot, around 80°F (27°C). This allows the yeast to ferment properly and gives the bread a light and airy texture.
Using a bread machine
If you prefer a more hands-off approach, you can use a bread machine to knead and proof the dough for you. Just follow the manufacturer’s instructions for the best results.
Adding flavors and toppings
Feel free to experiment with different flavors and toppings to make your Norwegian bread uniquely yours. Sprinkle herbs, cheese, or even dried fruits on top of the loaves to customize the taste and appearance.

Serving and Pairing
Norwegian bread can be enjoyed in various ways. Here are some serving suggestions and pairing ideas:
Serving suggestions
Enjoy Norwegian bread warm or cooled to room temperature. Slice it and spread butter or jam on top for a simple and satisfying snack. It also makes a delicious base for open-faced sandwiches or toast.
Pairing with spreads and toppings
Enhance the flavor of Norwegian bread by pairing it with a variety of spreads and toppings. Try it with cream cheese and smoked salmon for a classic Scandinavian combo, or with sliced avocado and a sprinkle of sea salt for a healthy and satisfying snack.
Health Benefits
Norwegian bread not only tastes delicious, but it also offers several health benefits. Here are a few reasons to include it in your diet:
High in fiber
Norwegian bread, especially when made with whole wheat flour, is rich in dietary fiber. Fiber promotes healthy digestion, keeps you feeling full for longer, and helps maintain a healthy weight.
Good source of vitamins and minerals
With its nutrient-rich ingredients, Norwegian bread provides essential vitamins and minerals, including iron, calcium, and B vitamins. These nutrients support overall health and well-being.
Boosts digestion
Thanks to the fiber content and the fermentation process, Norwegian bread can help promote a healthy digestive system. The bacteria produced during fermentation can benefit gut health and improve digestion.
Storage
To keep your Norwegian bread fresh and flavorful, here are some storage tips:
Storing freshly baked bread
Once the bread has completely cooled, store it in a paper bag or bread box at room temperature. Avoid storing it in plastic bags, as they can create condensation and make the bread stale.
Freezing leftover bread
If you have leftovers or want to make a larger batch for future use, Norwegian bread freezes well. Slice it before freezing to make it easier to thaw individual portions. Place the slices in a freezer bag or container, and they can be stored for up to three months.
History and Cultural Significance
Norwegian bread has a rich history and cultural significance in Norway. Here are a few key points:
Origins of Norwegian bread
Bread-making has been a tradition in Norway for centuries. The advent of agriculture introduced grain cultivation, leading to the development of various bread recipes and techniques. Norwegian bread often relies on locally sourced ingredients, reflecting the country’s agricultural heritage.
Traditional bread for celebrations
In Norway, bread is not only a daily staple but also an important element during celebrations and festivals. It is often served alongside traditional dishes during holidays like Christmas and Easter. Norwegian bread is deeply rooted in the country’s culinary traditions and holds a special place in Norwegian culture.
Frequently Asked Questions
Here are answers to some commonly asked questions about Norwegian bread:
Can I use whole wheat flour?
Absolutely! Whole wheat flour can be used to make Norwegian bread. It adds a nuttier flavor and boosts the fiber content of the bread, making it even more nutritious.
How long does it take to bake?
The baking time for Norwegian bread can vary depending on the size and shape of the loaves. On average, it takes about 25-30 minutes at 375°F (190°C) for a standard-sized loaf. Keep an eye on the bread starting at the 25-minute mark to ensure it doesn’t overbake.
Can I make it gluten-free?
While the traditional Norwegian bread recipe contains gluten, it is possible to make a gluten-free version. Substitute the all-purpose or bread flour with a gluten-free flour blend and follow a gluten-free yeast bread recipe for the best results. Keep in mind that the texture and taste may differ slightly from the traditional version.
Conclusion
Experience the taste of Norway by baking your own Norwegian bread. With its soft texture, delightful flavors, and rich cultural history, this bread is sure to become a favorite in your household. Follow the recipe and tips provided to create a delicious loaf that brings a touch of Scandinavian charm to your kitchen. Start baking your own Norwegian bread and enjoy the satisfying results!