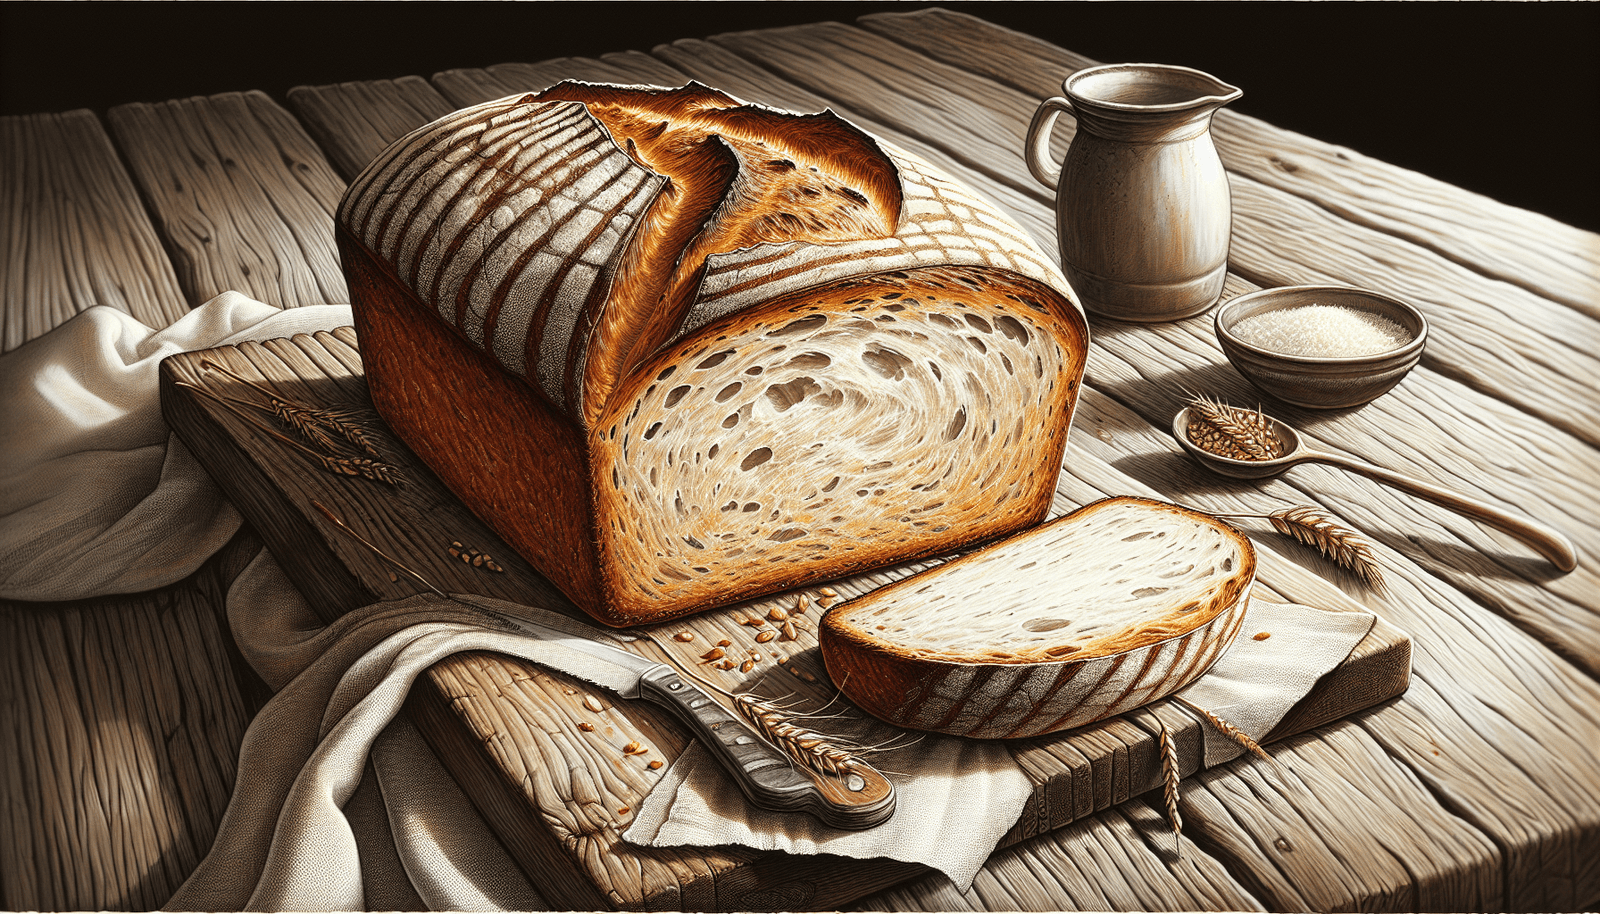
Imagine the comforting aroma of freshly baked bread wafting through your kitchen, filling your home with warmth and inviting everyone to gather around the table. If you’ve ever wished to recreate the classic taste of farmhouse white bread in your own kitchen, look no further. This article will guide you through a simple yet delicious farmhouse white bread recipe that will leave you with a loaf of bread that is golden on the outside, soft and fluffy on the inside, and simply irresistible. Get ready to become the master of your own homemade bread, impressing your family and friends with every slice.
Ingredients
To make a delicious farmhouse white bread, you will need the following ingredients:
All-purpose flour
All-purpose flour is the main ingredient for making the bread dough. It provides structure and texture to the final product.
Sugar
Sugar is used to activate the yeast and add a hint of sweetness to the bread.
Salt
Salt enhances the flavor of the bread and helps to strengthen the gluten
Active dry yeast
Yeast is essential for bread making as it helps the dough rise and gives the bread its airy texture.
Warm water
Warm water is needed to activate the yeast. It should be around 105-110°F (40-45°C) to help the yeast thrive.
Milk
Milk adds moisture and tenderness to the bread. It helps to create a soft and tender crumb.
Butter
Butter adds richness and flavor to the bread. It also helps to create a soft and tender texture.
Eggs
Eggs add richness and tenderness to the bread. They also act as a binder, helping to hold the dough together.
Instructions
Now that you have all the ingredients ready, let’s go through the step-by-step process of making farmhouse white bread:
1. Activate the yeast
In a small bowl, combine warm water, sugar, and active dry yeast. Give it a quick stir and let it sit for a few minutes until the yeast becomes frothy and bubbly. This indicates that the yeast is active and ready to be used.
2. Mix the dry ingredients
In a large mixing bowl, whisk together all-purpose flour, sugar, and salt. Make sure the ingredients are well combined.
3. Combine wet ingredients
In a separate bowl, combine warm milk, melted butter, and beaten eggs. Whisk them together until well blended.
4. Mix wet and dry ingredients
Pour the wet ingredients into the bowl with the dry ingredients. Use a wooden spoon or your hands to mix everything together until a dough starts to form. If the dough feels too sticky, you can gradually add more flour, a tablespoon at a time, until it reaches a soft and slightly tacky consistency.
5. Knead the dough
Transfer the dough onto a lightly floured surface and knead it for about 10 minutes. Use the heel of your hand to push the dough away from you, then fold it back over itself. Rotate the dough a quarter turn and repeat this process. Kneading helps to develop the gluten, which gives the bread its structure and elasticity.
6. Let the dough rise
Place the kneaded dough in a greased bowl and cover it with a clean kitchen towel. Allow it to rise in a warm and draft-free place for about 1 to 1.5 hours or until it has doubled in size. This rising time may vary depending on the temperature of your environment.
7. Shape the loaf
Once the dough has risen, gently punch it down to release any air bubbles. Transfer it to a lightly floured surface and shape it into a loaf. You can roll it tightly from one end to the other or divide the dough into smaller portions and shape them into rolls.
8. Proofing
Place the shaped loaf or rolls onto a baking tray lined with parchment paper or into greased loaf pans. Cover them with a clean kitchen towel and let them proof for about 30-45 minutes, or until they have doubled in size. This second rise allows the dough to relax and rise before baking.
9. Bake the bread
Preheat your oven to 375°F (190°C). Once the proofing time is complete, place the bread into the preheated oven and bake for approximately 25-30 minutes. The bread should be golden brown and sound hollow when tapped on the bottom.
10. Cool and enjoy
Remove the bread from the oven and let it cool on a wire rack for at least 30 minutes before slicing. This allows the bread to set and ensures a better texture. Once cooled, slice it up and enjoy your homemade farmhouse white bread!

Tips and Variations
Here are some additional tips and variations to enhance your farmhouse white bread recipe:
Using bread flour for a chewier texture
If you prefer a chewier texture in your bread, you can substitute some or all of the all-purpose flour with bread flour. Bread flour has a higher protein content, which strengthens the gluten and results in a chewier crumb.
Adding herbs or spices for flavor
To add a burst of flavor to your bread, try incorporating herbs or spices into the dough. Options like rosemary, thyme, garlic powder, or even cinnamon can take your farmhouse white bread to a whole new level.
Using different types of milk
While the recipe calls for regular milk, you can experiment with different types of milk such as almond milk, soy milk, or even coconut milk. These alternatives can add a unique flavor profile to your bread.
Adding seeds or nuts for extra crunch
For an added crunch and texture, consider adding seeds or chopped nuts to your dough. Options like sesame seeds, poppy seeds, sunflower seeds, or chopped walnuts can bring a delightful twist to your farmhouse white bread.
Making it gluten-free
If you follow a gluten-free diet, you can still enjoy homemade farmhouse white bread. Substitute the all-purpose flour with a gluten-free flour blend and make sure all the other ingredients are also gluten-free. The texture and taste may differ slightly, but it will still be delicious!
Troubleshooting
Encountering some issues while making your farmhouse white bread? Don’t worry, here are some troubleshooting tips to help you out:
Dense bread
If your bread turns out dense and heavy, it might be due to under-kneading or insufficient rising time. Make sure to knead the dough thoroughly and give it enough time to rise until it doubles in size.
Dry bread
Dry bread can be caused by using too much flour or overbaking. Ensure that you measure your flour correctly and keep an eye on the bread while it’s in the oven. Remove it as soon as it turns golden brown and sounds hollow when tapped.
Bread not rising
If your bread doesn’t rise as expected, it could be due to inactive yeast or improper rising conditions. Double-check the freshness of your yeast and ensure that the dough is placed in a warm and draft-free environment for optimal rising.
Bread not browning
To achieve a nice golden-brown crust, make sure to bake the bread at the recommended temperature and for the specified time. If the bread is not browning enough, you can brush the top with an egg wash or milk before baking.
Bread collapsing during baking
If your bread collapses in the middle while baking, it could be due to overproofing. Make sure not to let the dough rise for too long during the proofing stage. Additionally, avoid opening the oven door too frequently while baking, as it can cause a sudden drop in temperature.

Storage and Shelf-Life
To keep your farmhouse white bread fresh and delicious, here are some storage tips:
Storing at room temperature
Once the bread has completely cooled, store it in an airtight container or a bread bag at room temperature. This will help to retain its texture and keep it fresh for 2-3 days.
Freezing the bread
If you want to extend the shelf-life of your farmhouse white bread, you can freeze it. Wrap the bread tightly in plastic wrap or place it in a freezer bag to protect it from freezer burn. It can be stored in the freezer for up to 3 months.
Reheating the bread
To enjoy the fresh-out-of-the-oven taste, you can reheat your farmhouse white bread. Simply pop it in a preheated oven at 350°F (175°C) for about 5-10 minutes or until it is warmed through. Alternatively, you can lightly toast the slices to give them a delightful crunch.
Nutritional Information
Curious about the nutritional value of farmhouse white bread? Here’s an approximate breakdown of its macronutrients:
Calories
A slice of farmhouse white bread contains around 80-100 calories, depending on its size.
Protein
Each slice provides approximately 3-4 grams of protein.
Carbohydrates
Farmhouse white bread is rich in carbohydrates, with approximately 15-20 grams per slice.
Fat
A slice of farmhouse white bread typically contains around 1-2 grams of fat.
Fiber
The fiber content in farmhouse white bread is relatively low, with approximately 1 gram per slice.
Sodium
The sodium content in bread can vary, but it is generally around 100-200 milligrams per slice.
Benefits of Homemade Bread
Making your own farmhouse white bread has many advantages. Here are a few benefits that you can enjoy:
Control over ingredients
By making your own bread, you have full control over the quality and quantity of ingredients. You can choose organic or locally sourced ingredients, avoid additives or preservatives, and cater to specific dietary needs or restrictions.
Freshness and taste
There’s nothing quite like the aroma and taste of freshly baked bread. Homemade farmhouse white bread offers a delightful flavor and texture that you simply can’t find in store-bought loaves.
Cost savings
Making bread at home can save you money in the long run. The ingredients for farmhouse white bread are generally inexpensive, and you can make several loaves for the cost of one store-bought loaf.
Creative experimentation
With homemade bread, you can let your creativity run wild. You can experiment with different flavors, shapes, and ingredients, making each loaf a unique and personalized creation.
History of Farmhouse White Bread
Farmhouse white bread has a rich history that dates back to rural agricultural communities. Here’s a brief overview of its origins and evolution:
Origins in rural agricultural communities
Farmhouse white bread originated in rural farmhouses, where families would make bread for their daily sustenance. It was a staple food in these communities, providing nourishment and sustenance for hardworking farmers and their families.
Traditional techniques and ingredients
Originally, farmhouse white bread was made using simple ingredients like flour, water, yeast, and salt. The dough was typically kneaded by hand and allowed to rise naturally. Many families would also maintain their own sourdough starter, which added a unique flavor to the bread.
Evolution of farmhouse white bread over time
As agricultural techniques and technology advanced, the process of making farmhouse white bread transformed. More refined flours became available, allowing for a softer and lighter texture. Commercial yeast became widely accessible, making the bread rise faster and more consistently. Despite these changes, the essence of farmhouse white bread as a comforting and nourishing staple remained intact.
Cultural Significance
Farmhouse white bread holds a significant place in various cultures around the world. Here are some reasons why it is cherished and celebrated:
Symbol of homeliness and comfort
Farmhouse white bread is often associated with feelings of warmth, homeliness, and comfort. The aroma of freshly baked bread evokes memories of family gatherings, shared meals, and cozy moments.
Associated with family and community
Baking farmhouse white bread has traditionally been a communal task, bringing families and communities together. It is often a labor of love, where generations come together to pass down time-honored recipes and techniques.
Featured in cultural rituals and celebrations
Farmhouse white bread plays a role in many cultural rituals and celebrations. It is often used as an offering in religious ceremonies, shared during festive occasions, or given as a symbol of hospitality and goodwill.
Conclusion
In conclusion, making your own farmhouse white bread is a rewarding and fulfilling experience. From controlling the ingredients to enjoying the taste and cultural significance, homemade bread offers countless benefits. So, why not give it a try and embark on your own bread-making adventure? Get ready to savor the aroma, feel the satisfaction of kneading the dough, and enjoy the delicious result of your efforts. Happy baking!