If you’re craving the mouth-watering aroma of freshly baked bread filling your kitchen, then look no further than this delightful Danish bread recipe. With its soft and fluffy texture and a slightly sweet taste, this homemade bread is perfect for breakfast or as a tasty accompaniment to any meal. Follow the simple steps and savor each delicious slice of this homemade Danish bread that will surely have your family and friends coming back for more.
Ingredients
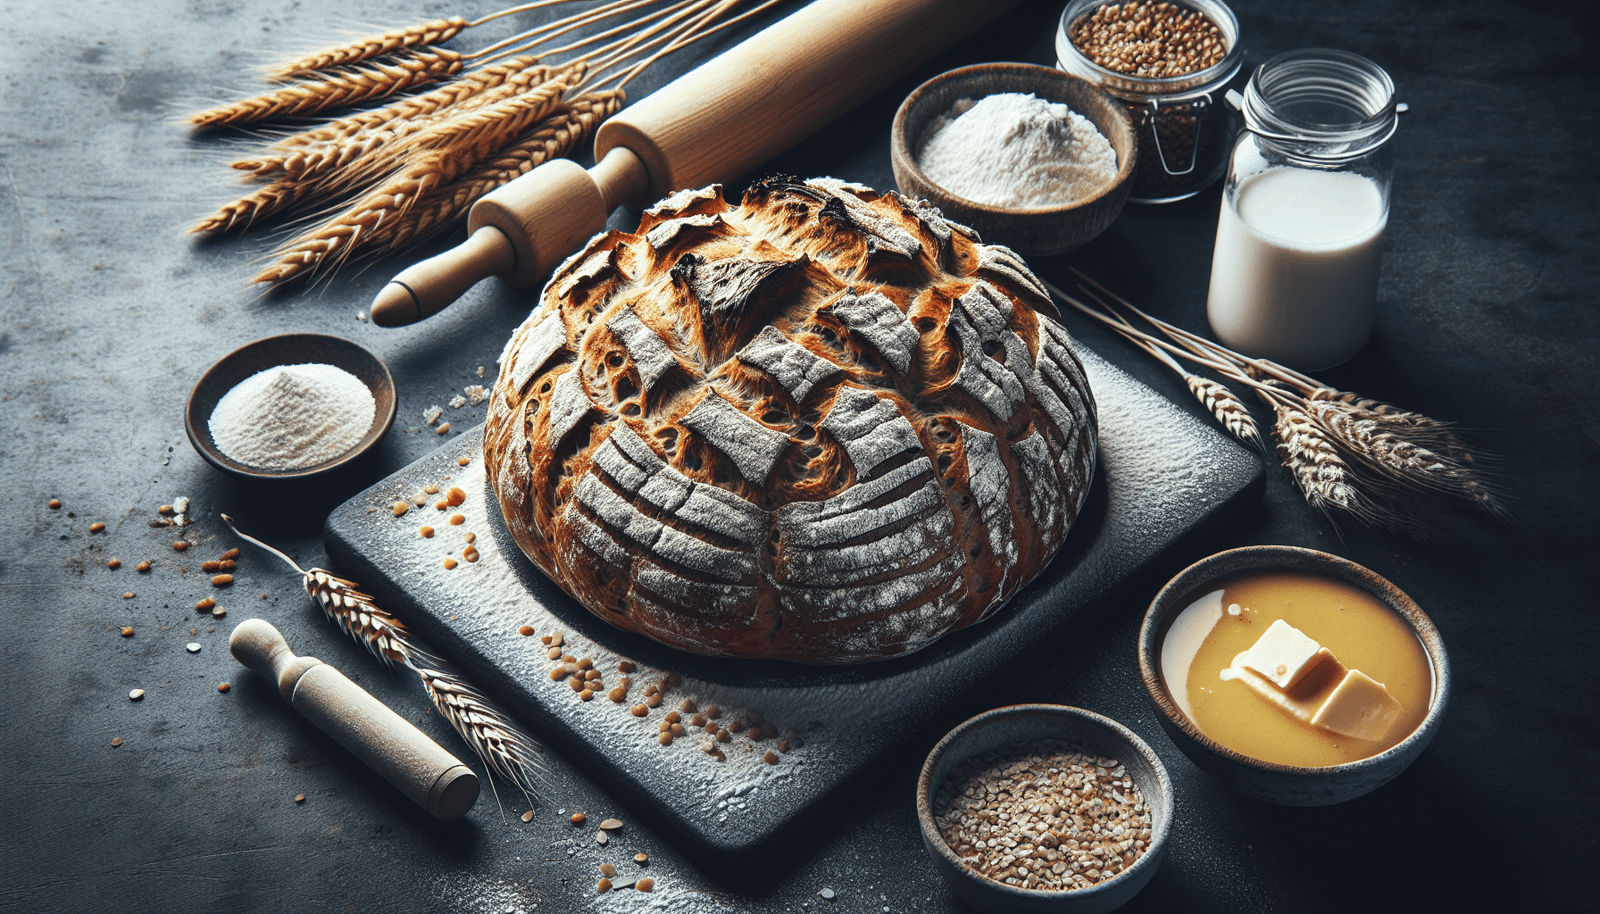
To make homemade Danish bread, you will need the following ingredients:
All-purpose flour
All-purpose flour is the main ingredient in this recipe and provides the structure for the bread.
Active dry yeast
Yeast is responsible for leavening the dough and giving the bread its airy texture.
Granulated sugar
Sugar adds sweetness to the bread and also helps activate the yeast.
Salt
Salt is essential for enhancing the flavors in the bread.
Eggs
Eggs add richness and help bind the ingredients together in the dough.
Butter
Butter adds moisture and richness to the bread, giving it a tender crumb.
Milk
Milk adds moisture and helps create a soft and fluffy texture in the bread.
Vanilla extract
Vanilla extract provides a hint of flavor to the dough and enhances the overall taste of the bread.
Jam or fruit filling (optional)
For added sweetness and flavor, you can choose to include a jam or fruit filling in your Danish bread.
Preparing the Dough
To start making your Danish bread, follow these steps:
Proofing the yeast
In a small bowl, combine the active dry yeast, warm water, and a pinch of sugar. Stir gently and let it sit for about 5 minutes until the mixture becomes foamy. This process, known as proofing, ensures that the yeast is active and ready to leaven the dough.
Mixing the dry ingredients
In a large mixing bowl, whisk together the all-purpose flour, granulated sugar, and salt. Mix well to ensure the ingredients are evenly distributed.
Adding the wet ingredients
In a separate bowl, whisk together the eggs, melted butter, milk, and vanilla extract. Pour the wet ingredients into the dry ingredients and mix until a sticky dough forms.
Kneading the dough
Transfer the dough onto a lightly floured surface and knead it for about 10 minutes until it becomes smooth and elastic. You can also use a stand mixer with a dough hook attachment to knead the dough for you.
First rise
Place the kneaded dough in a greased bowl, cover it with a clean kitchen towel, and let it rise in a warm, draft-free place for about 1-2 hours until it doubles in size. This allows the yeast to ferment and create carbon dioxide, which gives the bread its airy texture.

Shaping and Filling
Once the dough has risen, it’s time to shape and fill your Danish bread:
Dividing the dough
Punch down the risen dough to release any air bubbles. Divide the dough into equal portions, depending on the size and shape you desire for your Danish bread.
Rolling out the dough
Take one portion of the dough and roll it out into a rectangle shape on a lightly floured surface. The thickness of the dough can be adjusted according to personal preference.
Adding the filling
Spread your desired jam or fruit filling evenly over the rolled-out dough, leaving a small border around the edges.
Shaping the bread
Carefully roll up the dough, starting from one long side, into a log shape. Seal the edges by pinching them together to prevent the filling from leaking out during baking. You can also shape the dough into a traditional braided loaf or any other design you like.
Second Rise and Preheating
After shaping the bread, it needs to go through another rise before baking:
Second rise
Place the shaped Danish bread on a greased baking sheet or in a greased loaf pan. Cover it with a clean kitchen towel and let it rise for an additional 30-60 minutes until it puffs up slightly.
Preheating the oven
Preheat your oven to the recommended temperature stated in your recipe, usually around 350°F (180°C). This ensures that the oven is hot enough to bake the bread evenly.

Baking the Bread
Once the dough has completed its second rise, it’s time to bake it:
Egg wash
Before baking, you can brush the surface of the dough with an egg wash for a shiny golden crust. To make an egg wash, beat an egg with a tablespoon of water and brush it gently over the dough.
Baking time and temperature
Place the shaped Danish bread in the preheated oven and bake according to your recipe’s instructions. The baking time and temperature may vary depending on the size and shape of the bread. A typical baking time is around 20-30 minutes until the bread is golden brown and sounds hollow when tapped on the bottom.
Checking for doneness
To ensure that the bread is fully baked, insert a toothpick into the center. If it comes out clean or with a few moist crumbs, your Danish bread is ready. If the toothpick comes out with sticky dough, bake for a few more minutes until fully cooked.
Glaze and Toppings
To add a finishing touch to your Danish bread, consider the following steps:
Preparing the glaze
While the bread is cooling, prepare a simple glaze by whisking together powdered sugar and a small amount of milk or water until you achieve a desired consistency. You can also add a touch of vanilla extract for extra flavor.
Applying the glaze
Drizzle the glaze over the cooled Danish bread using a spoon or a piping bag. Allow the glaze to set before serving.
Adding toppings
If desired, you can sprinkle chopped nuts, shredded coconut, or decorative sugar over the glaze to add texture and visual appeal to your Danish bread.
Variations
While the traditional Danish bread is delicious on its own, you can also experiment with different fillings:
Almond paste filling
Instead of using jam or fruit filling, spread almond paste over the rolled-out dough. The creamy and nutty flavor of almond paste pairs wonderfully with the bread.
Cinnamon sugar filling
Mix together cinnamon and sugar, and sprinkle the mixture over the rolled-out dough before rolling it up. This creates a delicious cinnamon sugar swirl inside the bread.
Cream cheese filling
For a creamy and tangy filling, blend softened cream cheese with powdered sugar and a splash of lemon juice. Spread this mixture over the dough before rolling it up.
Serving and Storing
When it’s time to enjoy your freshly baked Danish bread, consider the following suggestions:
Serving suggestions
Slice the Danish bread and serve it as a breakfast treat, snack, or dessert. It pairs well with coffee, tea, or a glass of milk. For an extra special touch, serve it with whipped cream or a dollop of jam.
Storage tips
If you have leftover Danish bread, store it in an airtight container or wrap it tightly in plastic wrap to maintain freshness. It can be stored at room temperature for up to 2-3 days. For longer storage, refrigerate the bread for up to a week or freeze it for up to 3 months. Thaw frozen bread in the refrigerator before serving.
Tips and Tricks
To ensure success with your Danish bread, consider the following tips:
Using a stand mixer
If you have a stand mixer with a dough hook attachment, you can use it to knead the dough. It saves time and effort compared to kneading by hand.
Proofing in a warm place
To facilitate the yeast’s fermentation process, proof the dough in a warm place, such as a turned-off oven with the light on, or near a warm stove. The ideal temperature for proofing is around 80°F (27°C).
Overnight rise in the refrigerator
If you don’t have time to let the dough rise during the day, you can let it rise overnight in the refrigerator. This slow rise develops flavor and allows for more flexibility in your baking schedule.
Freezing the dough
If you want to have freshly baked Danish bread on demand, you can freeze the shaped dough before the second rise. Thaw it in the refrigerator overnight, let it complete its second rise, and then bake as usual.
Conclusion
Congratulations! You have successfully made homemade Danish bread. Enjoy the fruits of your labor and savor the delicious flavors of this classic bread. Whether you choose to fill it with jam, almond paste, or cream cheese, your Danish bread is sure to impress and delight. Share the love by serving it to family and friends, or simply enjoy it all to yourself. Happy baking!